Scheduled Movement
Main Page / Operations / Scheduled Movements
- Select the Operations Tab. Select Movements /Scheduled Movements.
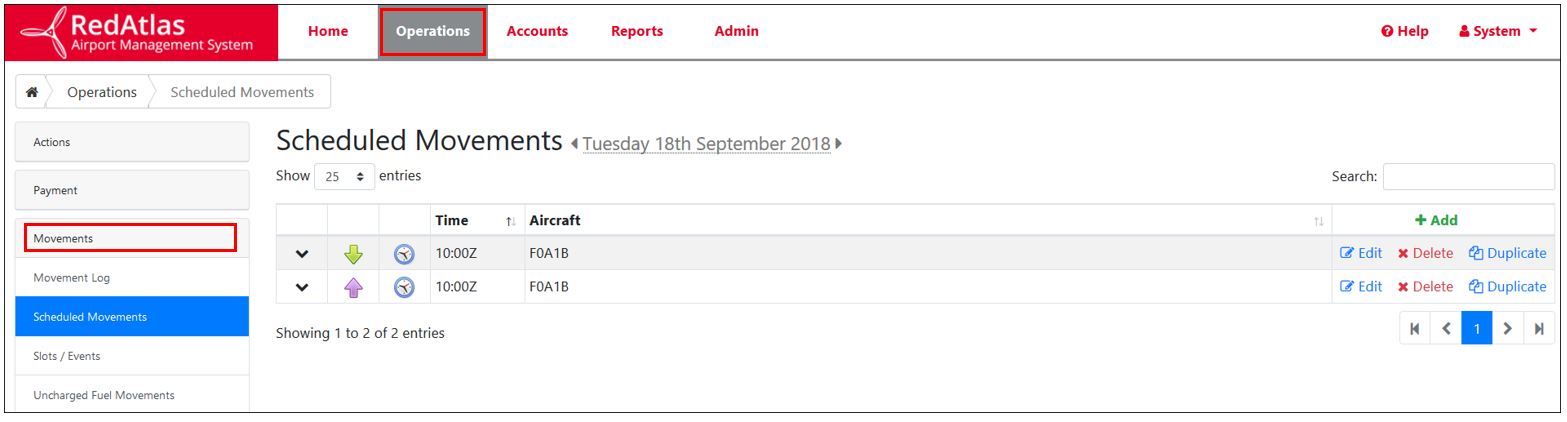
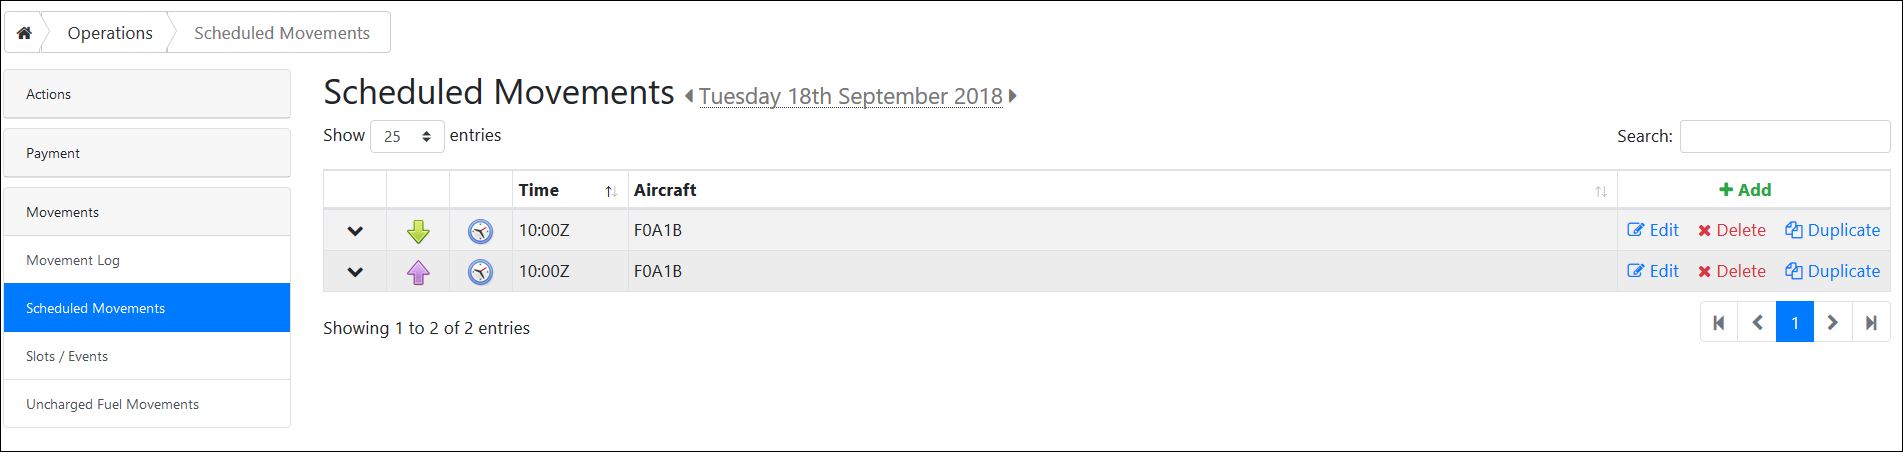
- The Scheduled Movements screen shows all scheduling on any given day. The date can be changed by clicking on the Date.
- The up purple arrow shows Outbound movements and the down green arrow shows Inbound.
- The clock shows that the movement is scheduled.
- Select the v on the left of the row to expand and see more detail.
- Select Edit to make changes to the movement or Delete to remove it
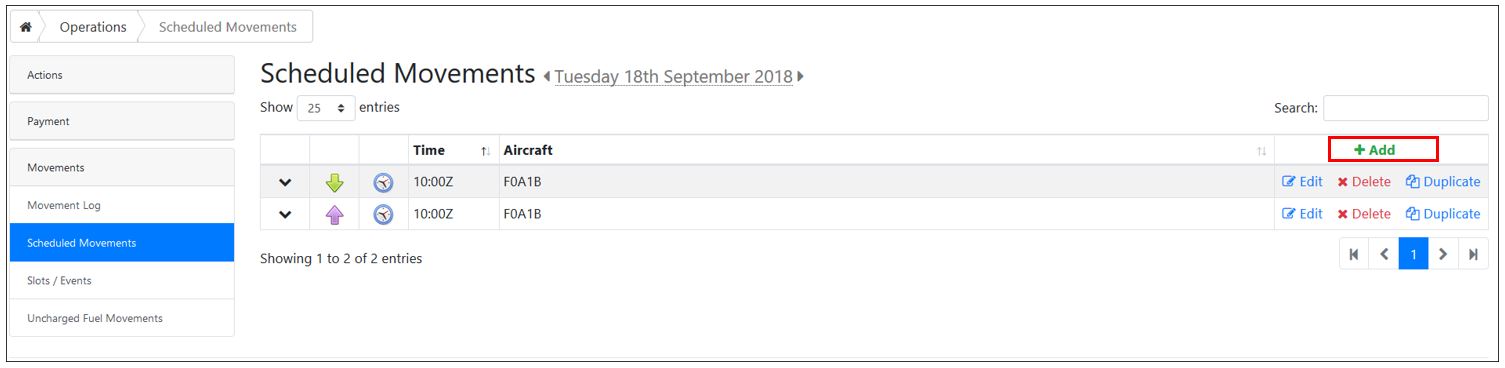
- Select + Add to create a new Scheduled Movement
- Begin by entering the Callsign if known.
- Select Direction as Inbound or Outbound from the dropdown options. This is mandatory.
- Enter the Date and time of the movement, time is entered in the At field. These are both mandatory.
- The Airport field is a dynamic look up of the World Airport Codes, options to select will show as you type.
- Select Type of Flight from the dropdown options.
- Select Operator from the dropdown options.
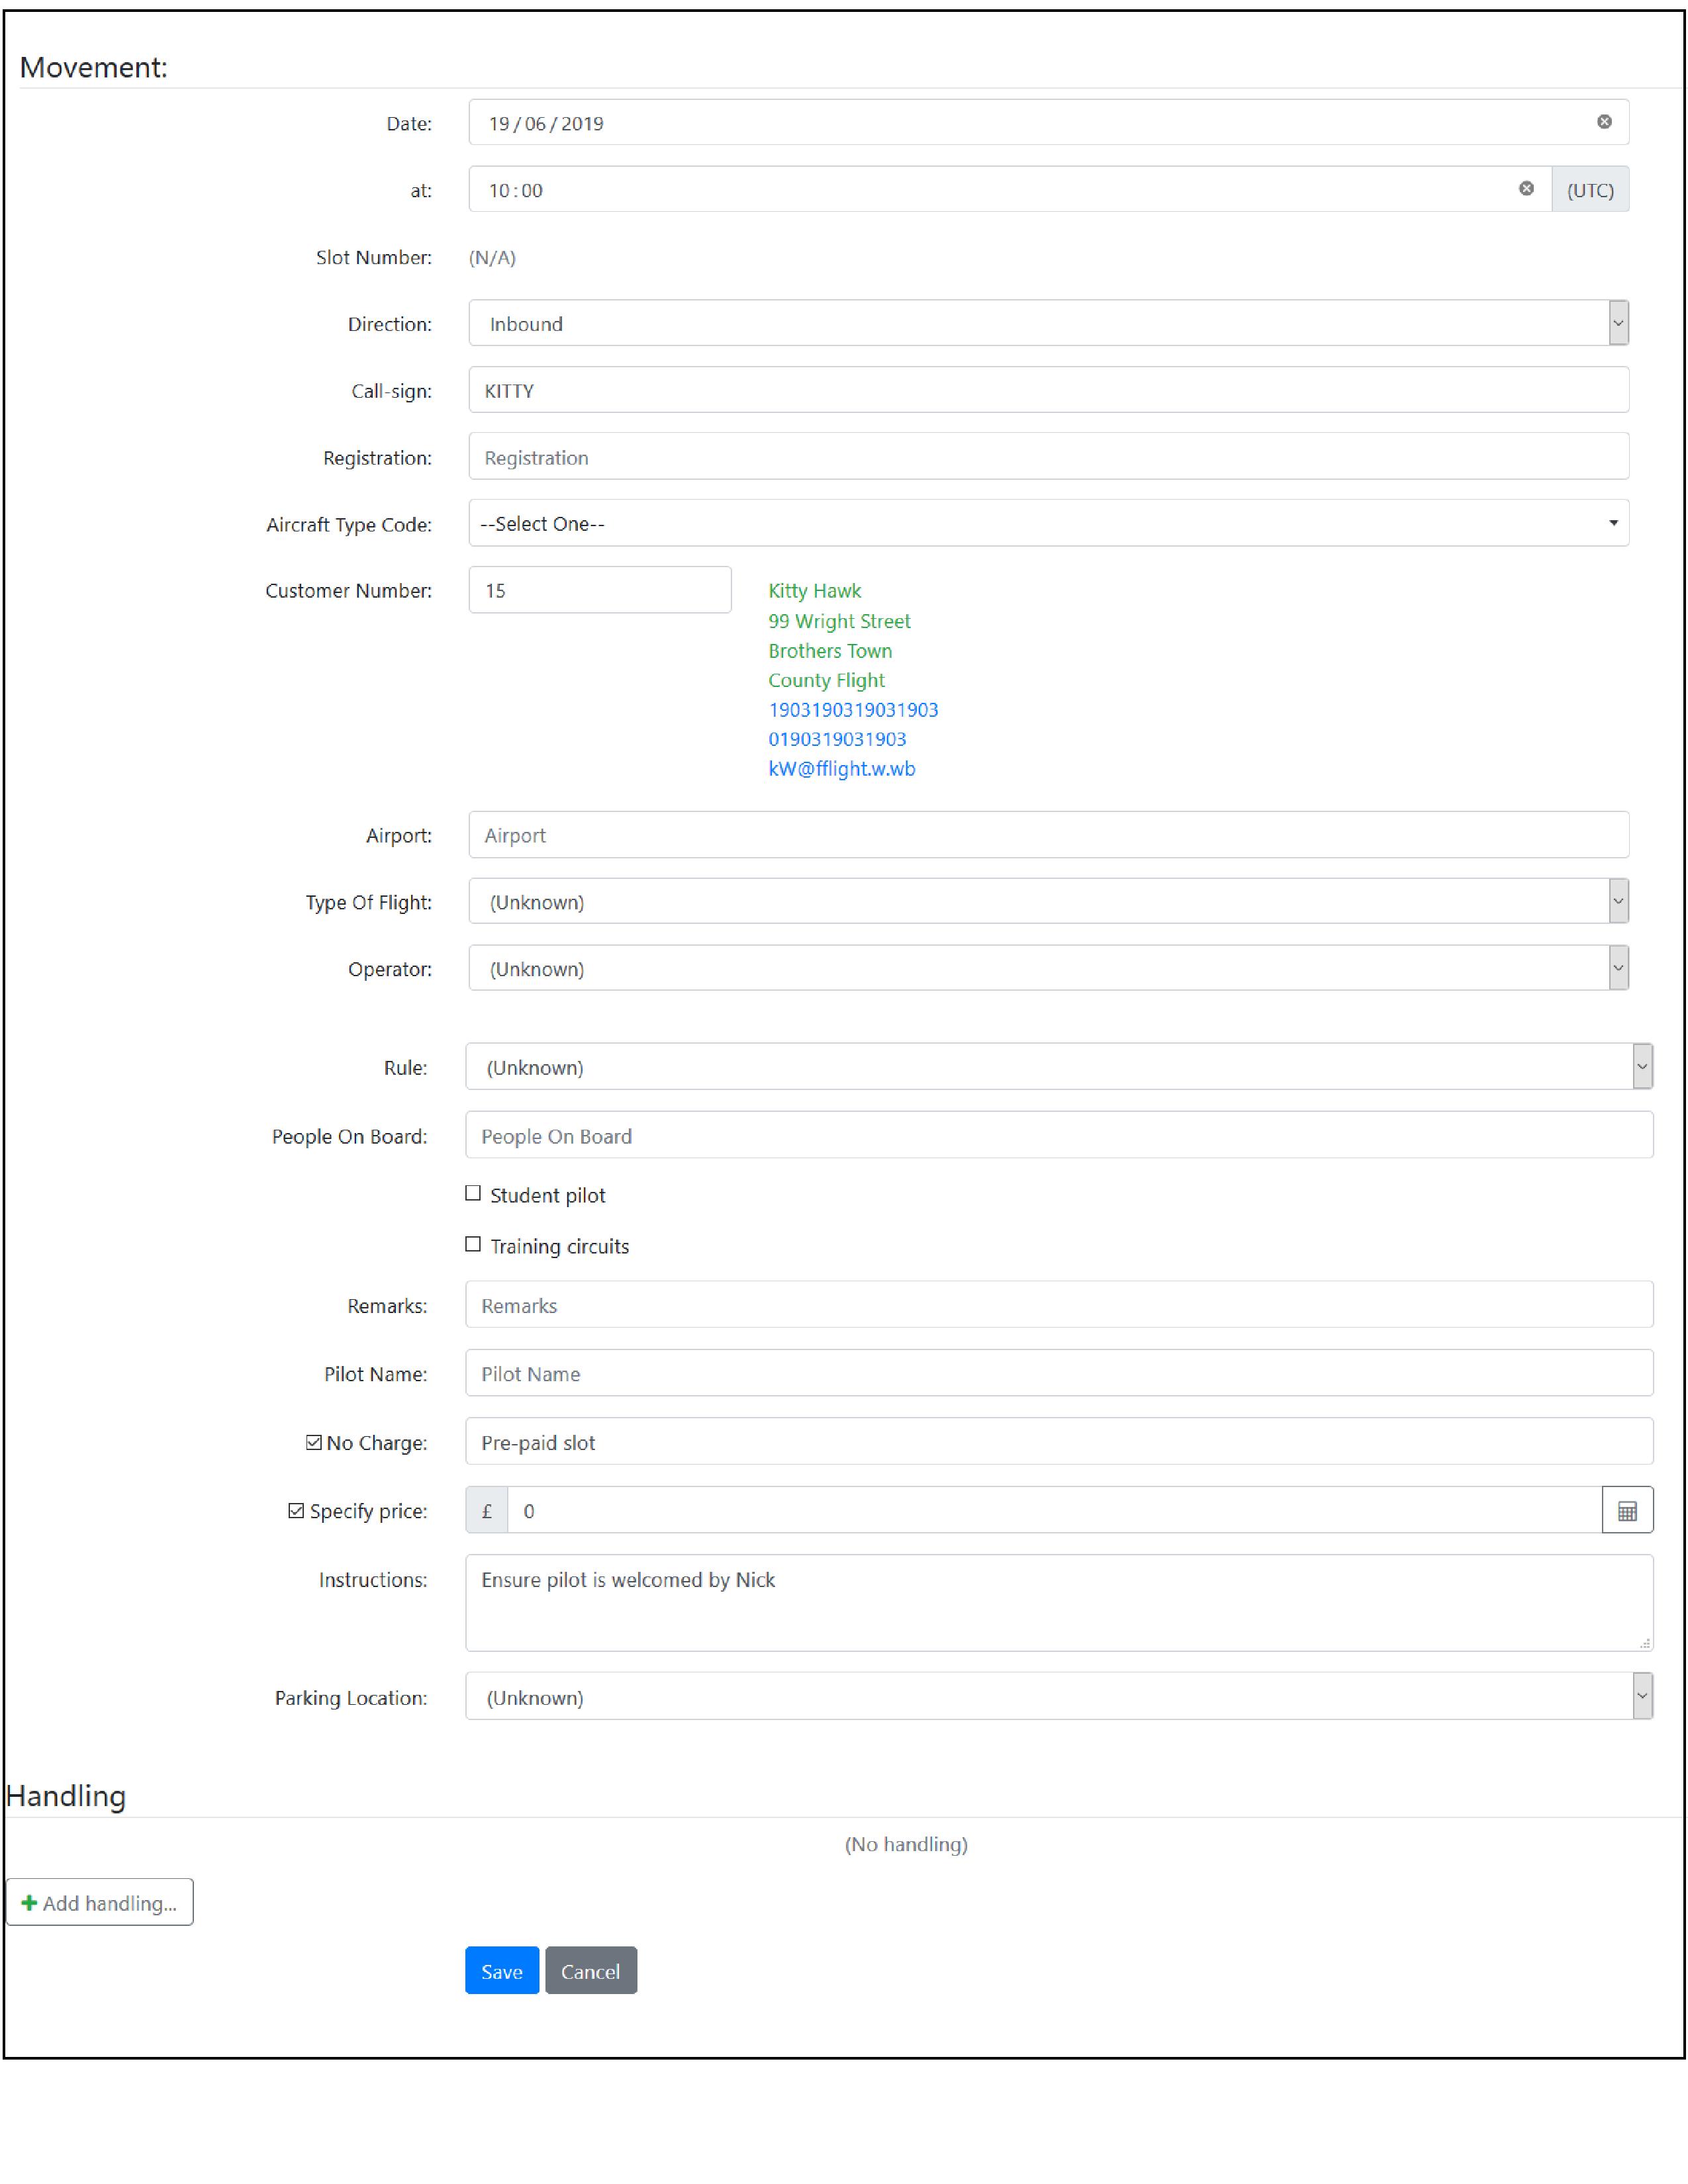
- Select Rule from the dropdown options.
- Select Runway from the dropdown options.
- Select the number of People On Board.
- If there is a Student Pilot or if the movement is for Training Circuits tick the appropriate box.
- Use the Remarks field to make any notes.
- Enter Pilot Name, if known.
- If there is No Charge for the movement tick the box and this will stop it from appearing as an Uncharged Activity.
- Use the Instructions field to add any specific instruction details for the movement.
- Select + Add Handling from the bottom of the page. To open the options to add Handling, if required.
- Select Code from the dropdown box e.g. passenger transport.
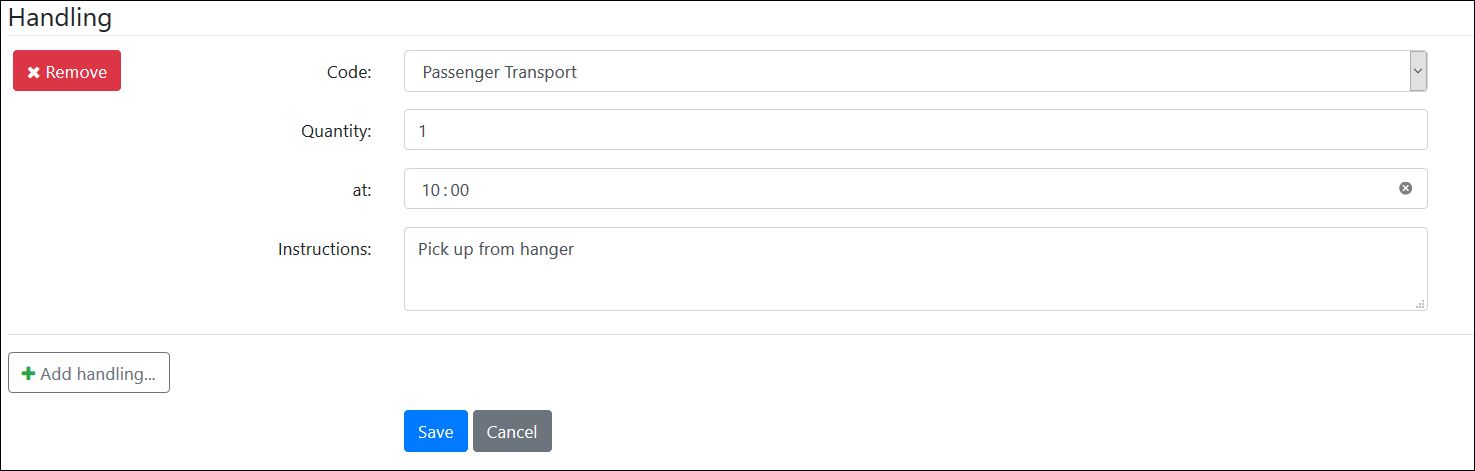
- Adjust the Quantity as required, default set to 1.
- Enter the Time in the At field, using the colon (:) as the hour:minute separator.
- Enter any additional instructions for the specific handling item in the Instructions field.
- If more Handling is required select the + Add Handling and repeat steps as many times as needed.
- Select Save to complete the Scheduled Movement.
Main Page / Operations / Scheduled Movements